

400-999-8169
免费热线:
天津信睿生物科技有限公司
TIANJIN XINRUI BIOTECHNOLOGY CO.,LTD


HOT
热门关键词:
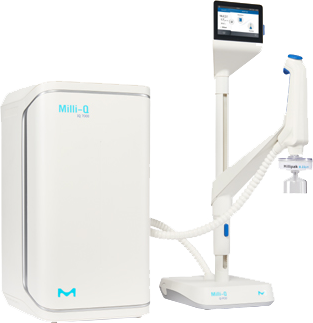
默克(IQ7000超纯水机,HX7000系列智能化纯水系统,微流控活细胞实时分析系统,量化成像分析流式细胞仪,单分子免疫检测平台),蔡司显微镜(LSM880激光共聚焦,LSM800 with Airyscan高效型共聚焦,Metafer玻片扫描系统,Metafer-i·FISH全自动CTC图像扫描与分析系统,cd7自动化活细胞成像平台,PALM MicroBeam,Observer7,Scan.Z1全自动数字玻片扫描系统,LightSheet Z.1,Axio Imager 2正置显微镜研究平台,Apotome.2结构光学切片显微成像,Zoom.V16 电动荧光变倍显微镜,神经生物学显微成像解决方案,生殖IVF显微镜整体解决方案,病理显微镜整体解决方案),美墨尔特恒温恒湿箱HPP,ESCO安全柜,CelCradle潮式生物反应器,IVF产品(多区域温控IVF工作站,TL 胚胎差时监视优育系统,IVF专用多腔室培养箱),泰尼百思(代谢笼,IVC绿线笼盒,DVC数字化笼盒),wpi(单细胞张力,气体信号分子,斑马鱼研究全套工具,线虫咽部肌电记录系统,显微注射系统,点针式细胞电穿孔仪,光遗传,生理机能监测系统,LWCC),樱花病理(胶带式染色封片工作站,自动组织脱水机VIP6 AI,冷冻切片机Polar D,PINO超低温冷冻机),Plexon神经电生理,奥豪斯离心机 , 贝克曼超速离心机Optima XPN-100,MD(Station 3 多功能微孔读板机,FLIPR Tetra 高通量实时荧光分析系统,GenePix 4000B 微阵列基因芯片扫描仪,ForteBio Octet 分子相互作用技术平台),耶拿(高速PCR),凯杰(PyroMark Q48焦磷酸测序仪)生殖遗传实验室产品目录,实验动物中心产品目录,分子生物学实验室产品目录
内容详情 / information


联系我们

地址:天津市河西区紫金山路瑞金花园C9
联系电话:400-999-8169
网址:www.xinruibio.com
邮箱:xinruishengwu@xinruibio.com